点击立即下载:
轻松连私有化物联网平台部署说明
一、部署安装
1.安装UbiBotOPP
①解压缩后,双击安装程序“UbiBotOPPSetup”。
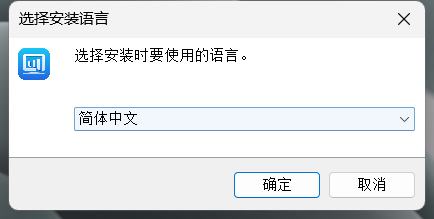
②选择安装语言,点击【确定】。
③确认安装路径,程序默认安装路径为“C:\UbibotOpp”,点击【下一步】。

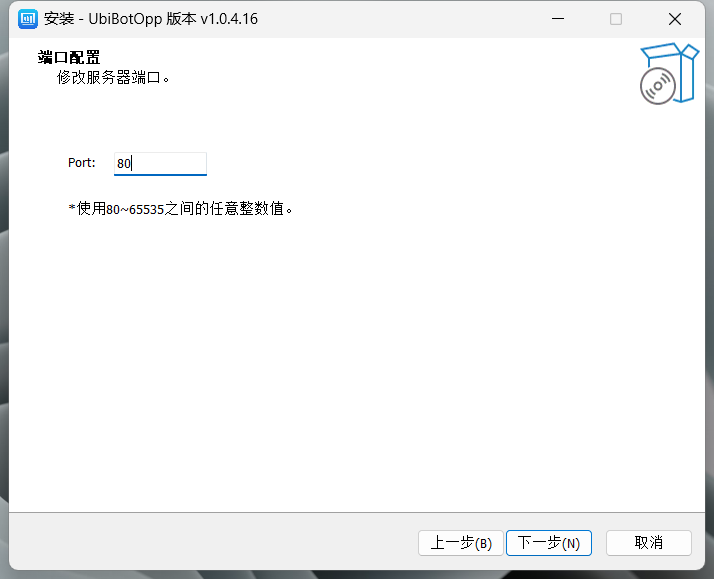
④设置端口,点击【下一步】。
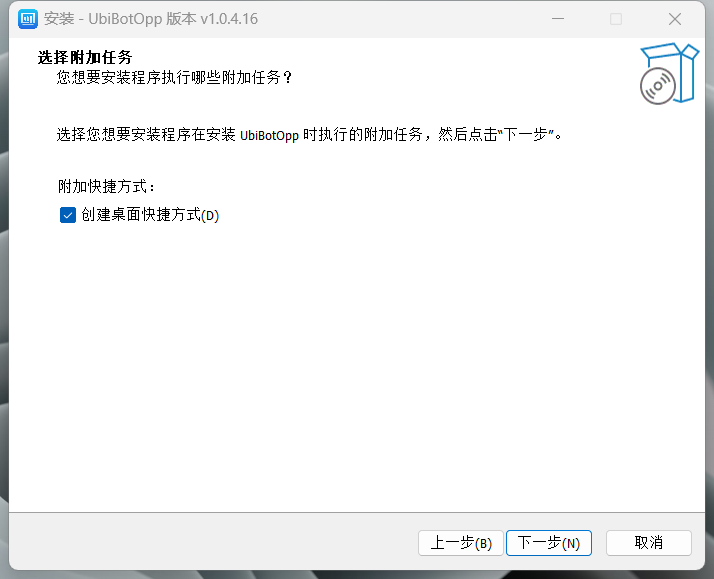
⑤选择附加任务,点击【下一步】。
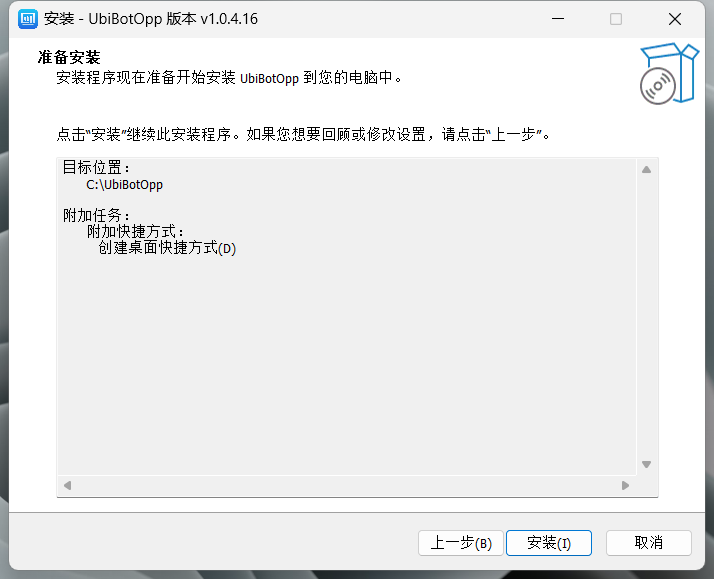
⑥点击【安装】。
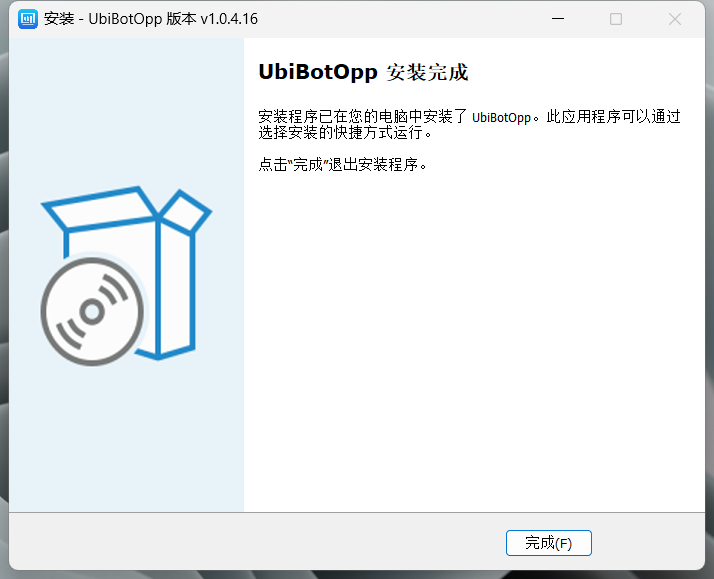
⑦点击【完成】。
2.私有化环境参数设置
①打开浏览器,输入http://127.0.0.1/。
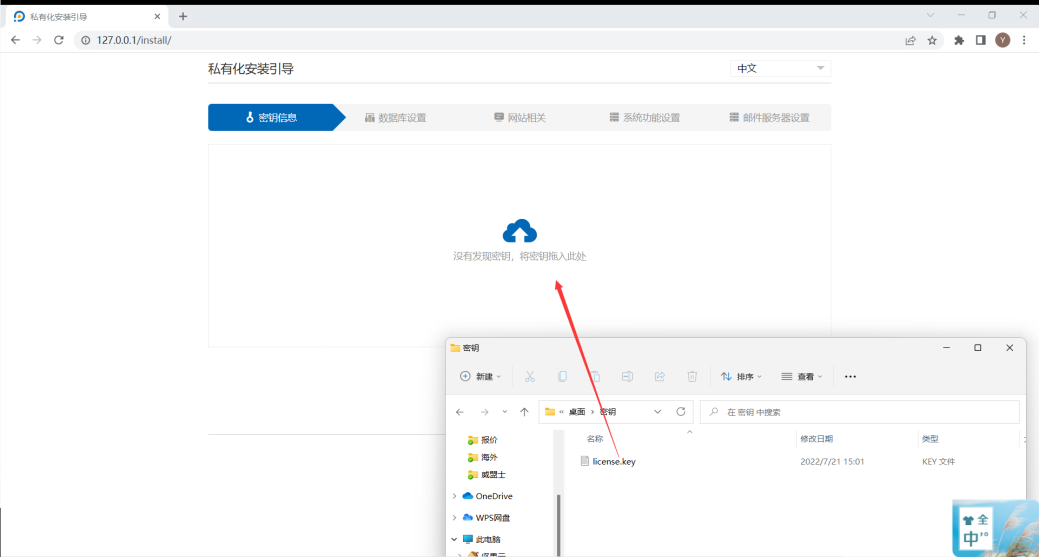
②将在应用中心下载的密钥文件上传,点击【下一步】。
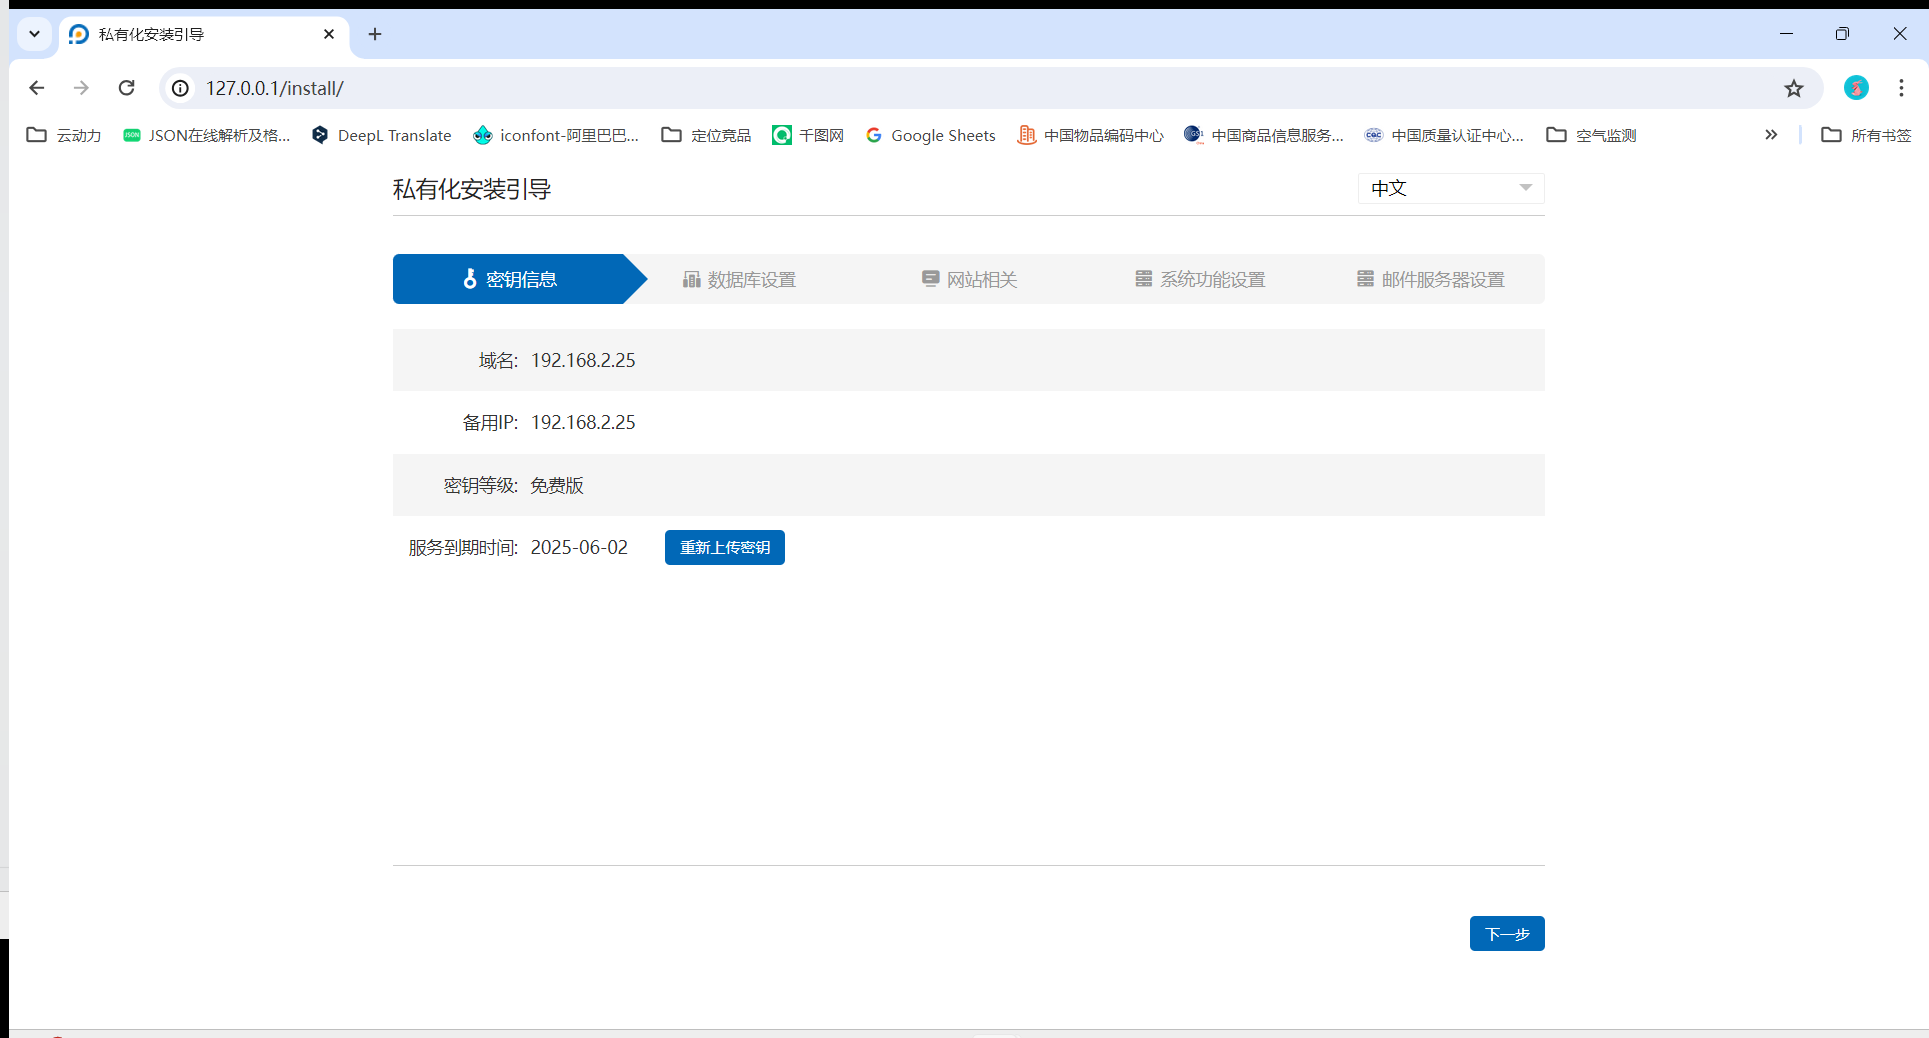
上传成功后,将显示密钥相关信息。
③数据库相关设置如不需要特殊设置,点击【DB链接测试】,查看数据库是否链接即可。

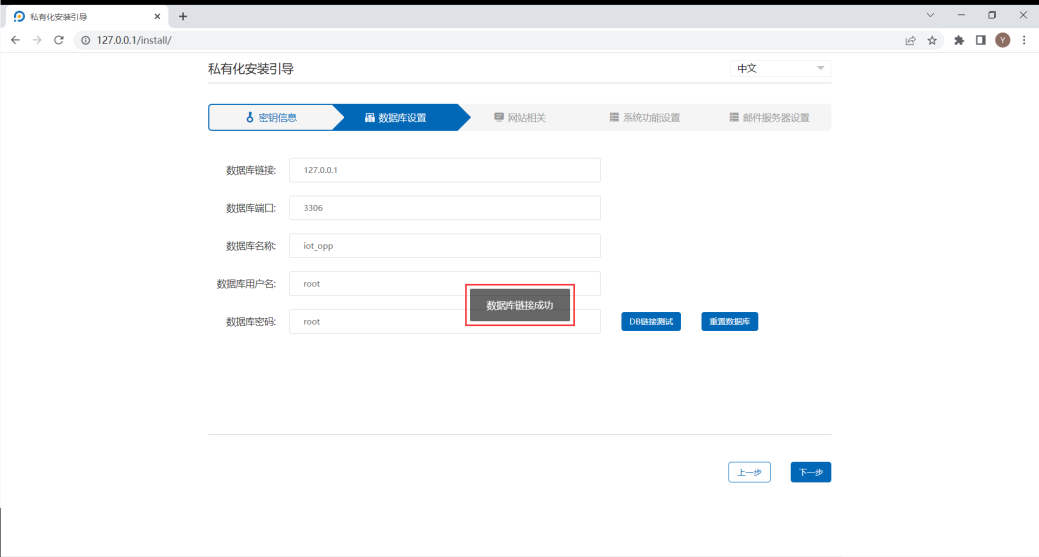
注:重置数据库将清空原数据库,请谨慎使用。
如需重置,需点击“重置数据库”按钮后,再次点击“DB链接测试”,确认数据库链接成功。

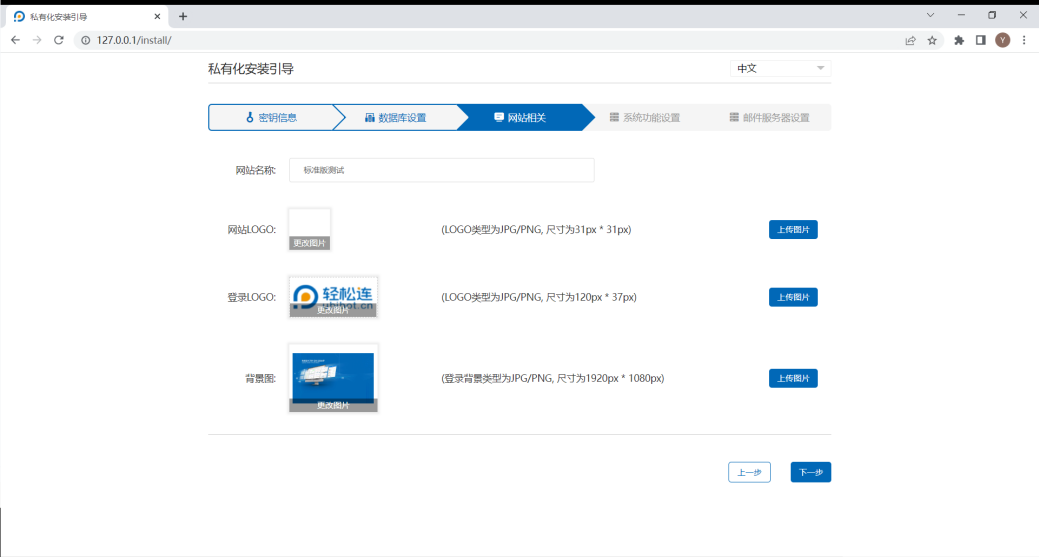
④设置网站相关信息,可设置名称、LOGO、背景图。(基础版及以上版本支持)
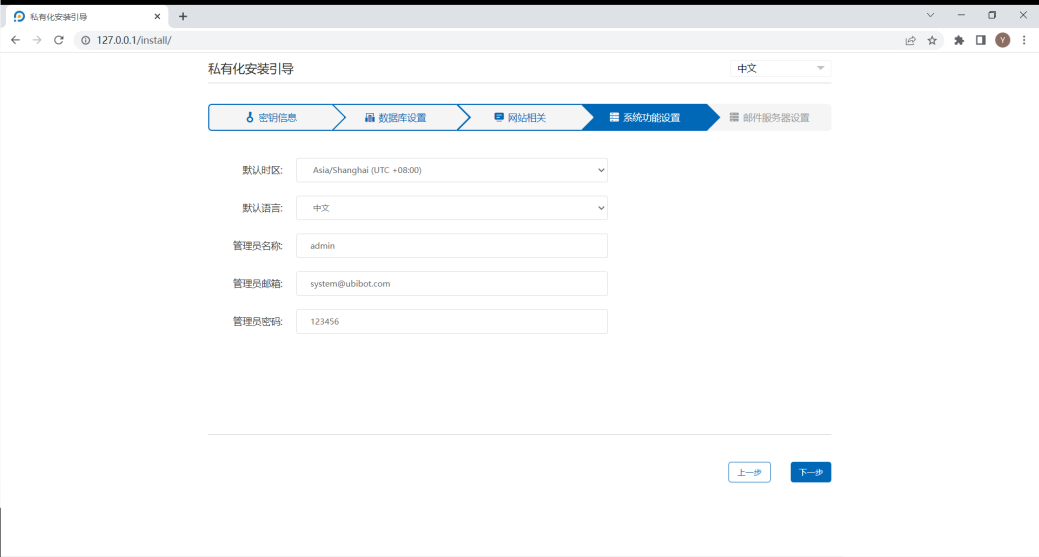
⑤设置默认时区、语言、管理员账户信息等系统功能设置。
⑥若需要使用邮件预警功能(基础版及以上版本支持),请进行邮件服务器设置(发送预警邮件的服务器),并点击【完成】。完成后,自动跳转至控制平台。
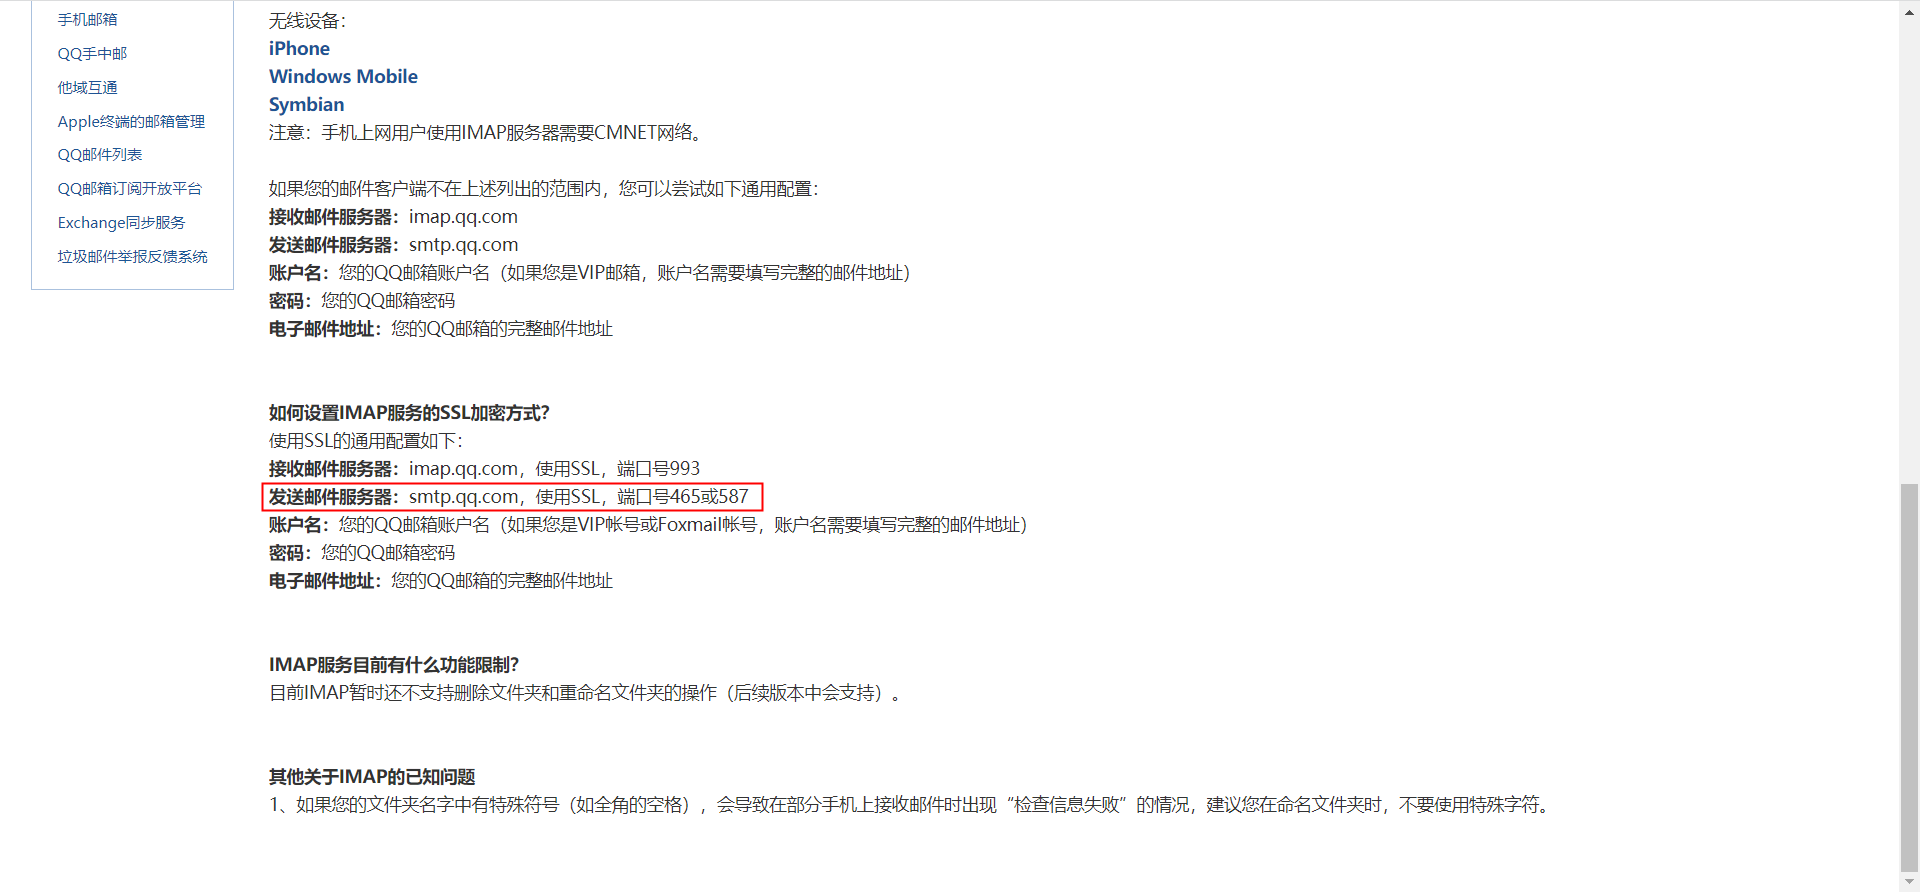
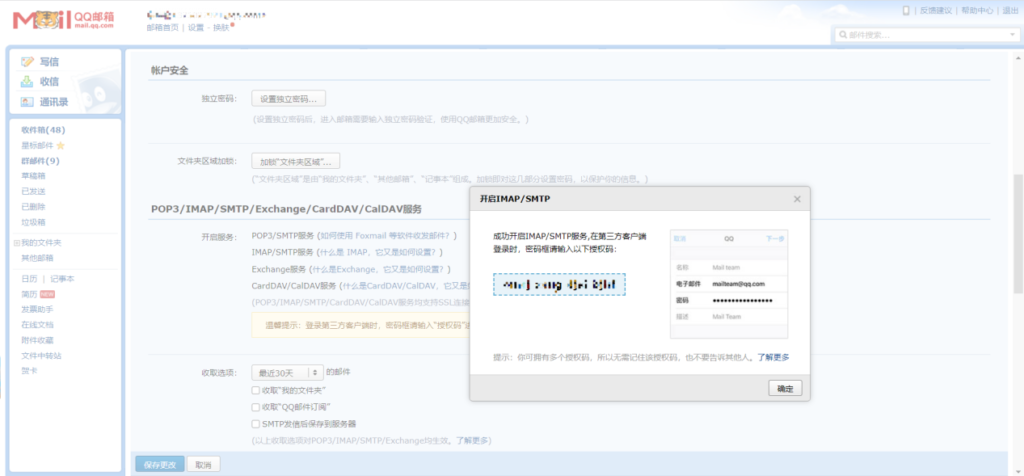
相关设置内容请与使用的邮件方确认。以QQ邮箱为例,相关设置如下。
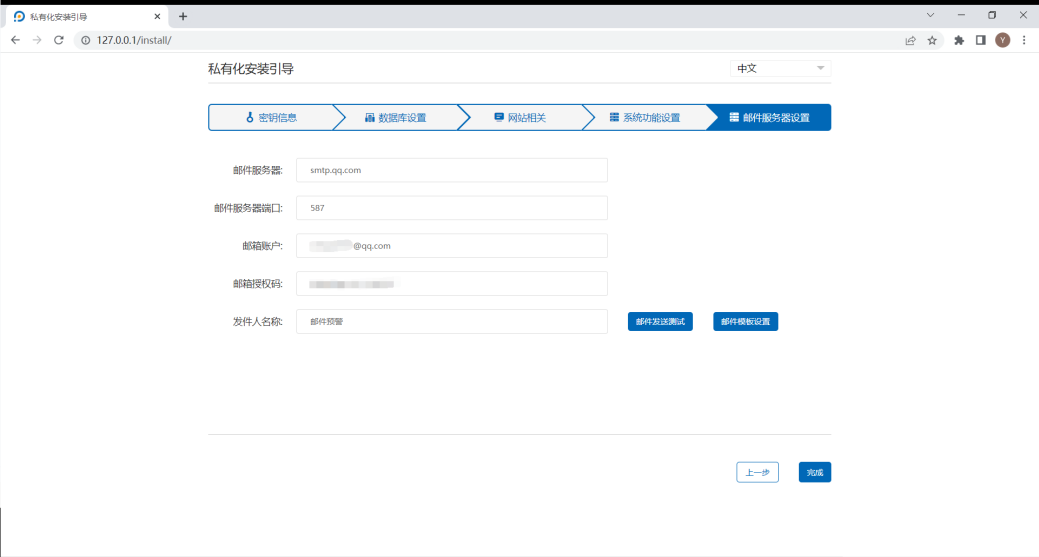
相关设置信息如下图。
二、激活设备
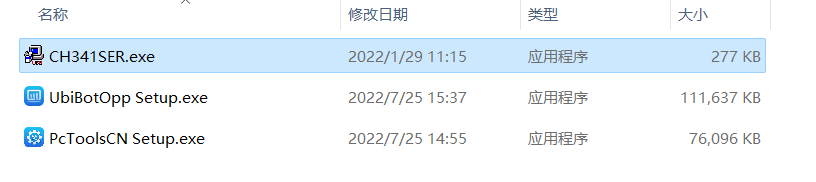
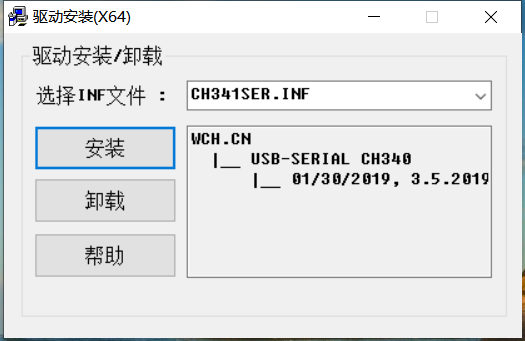
1.安装CH340驱动
①双击运行安装程序“CH341SER”。
②点击【安装】。
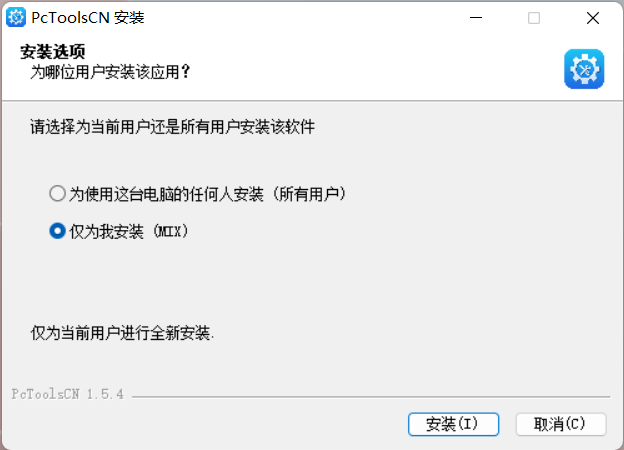
2.安装PC工具
①双击安装程序“PcToolsCN Setup”。

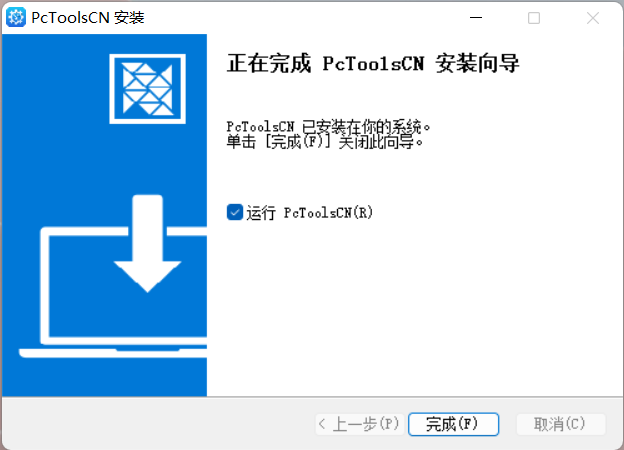
②点击【安装】。
③点击【完成】。
3.激活设备
请确认待激活设备未被绑定。如无法确认,请先对设备进行恢复出厂设置。
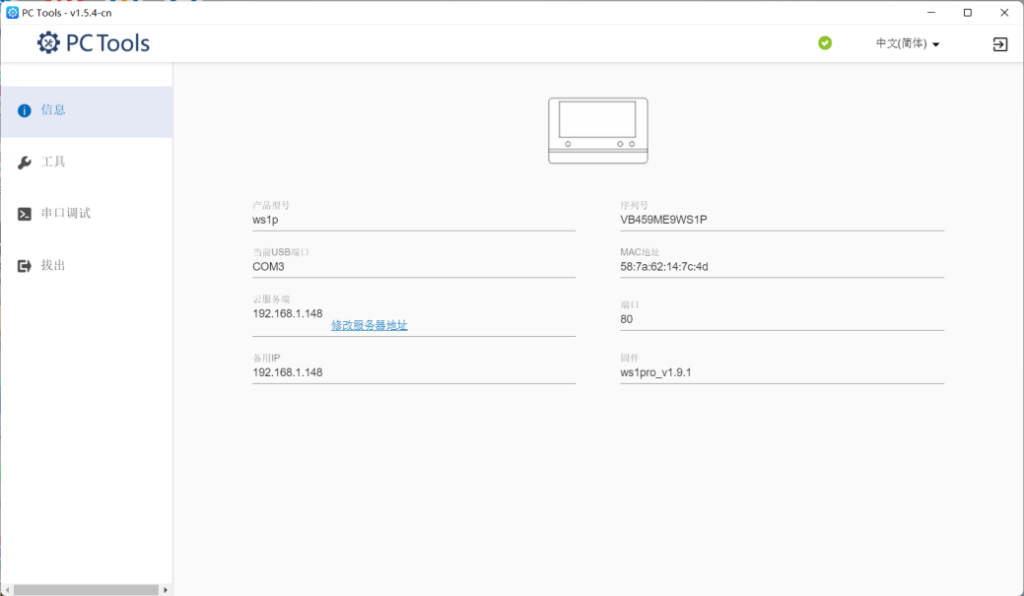
①双击运行PC Tool。
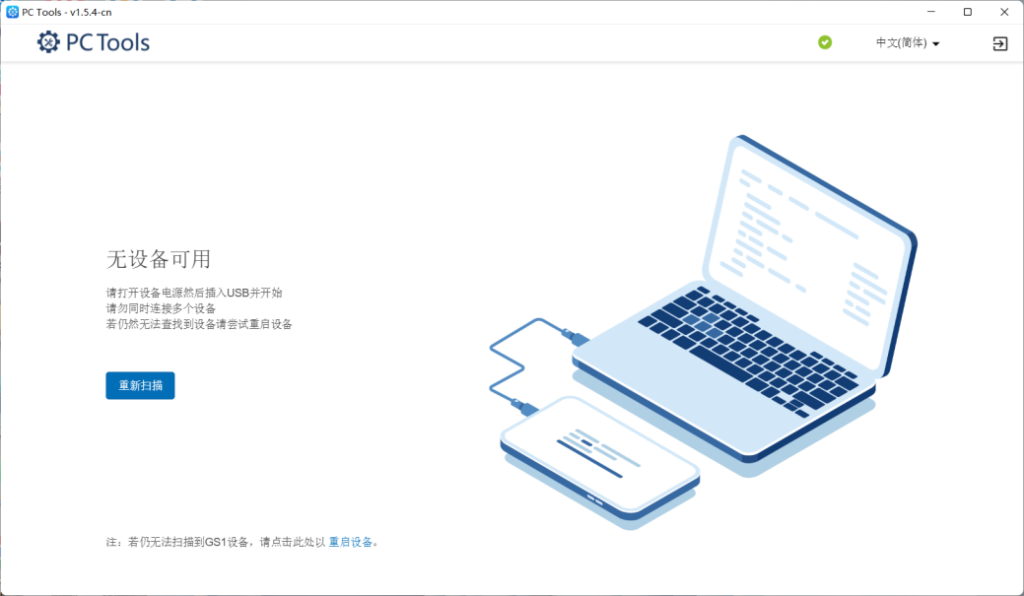
②将设备用USB数据线连接至电脑。
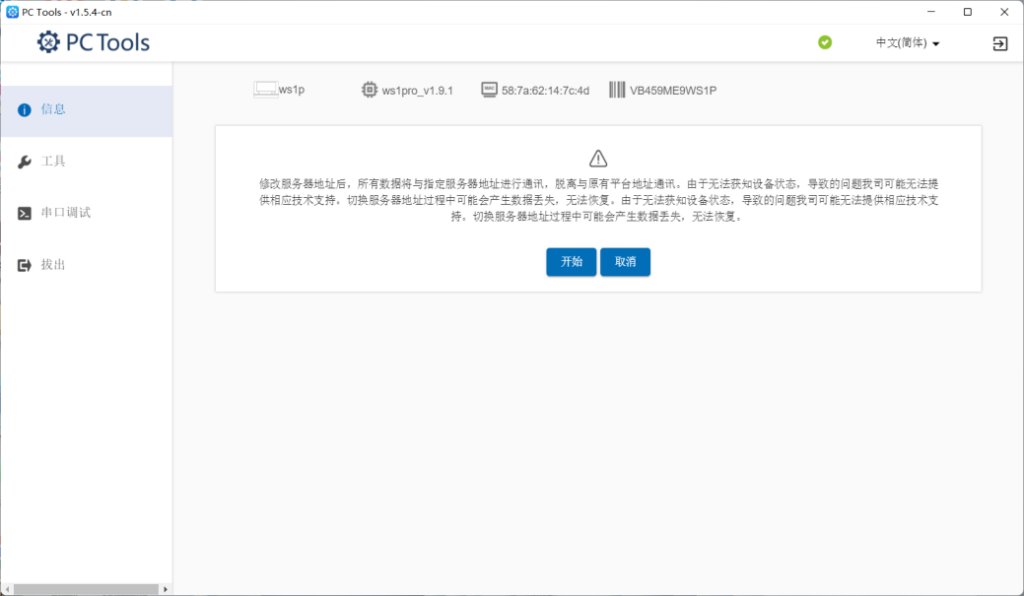
③点击【修改服务器地址】。
④点击【开始】。
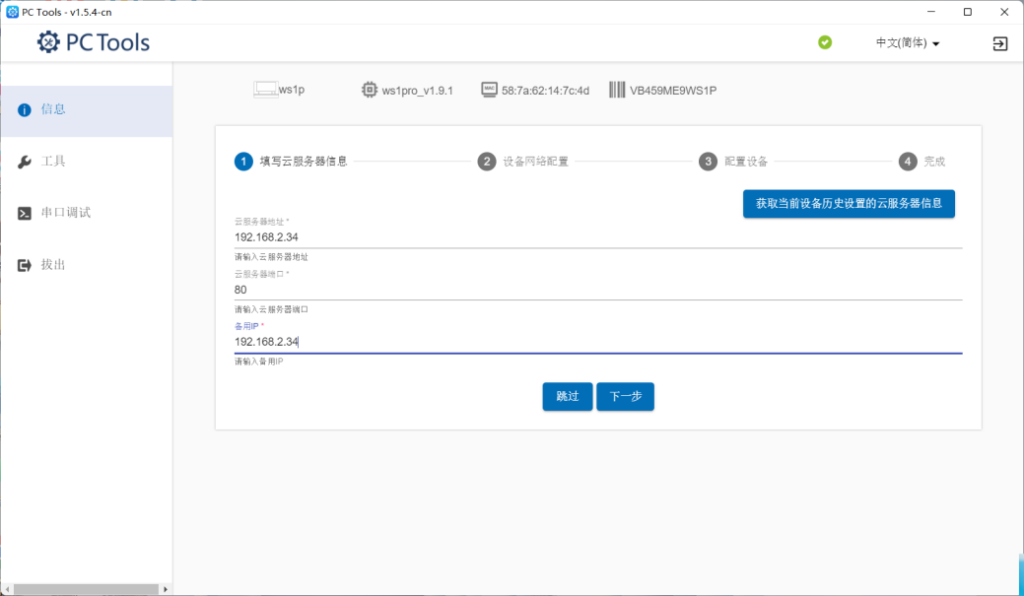
⑤填写云服务器地址,并点击【下一步】。
- 云服务器地址:密钥设置的域名;
- 云服务器端口:默认为80。若修改过端口,请填写该端口号。
- 备用IP为密钥设置的IP地址。
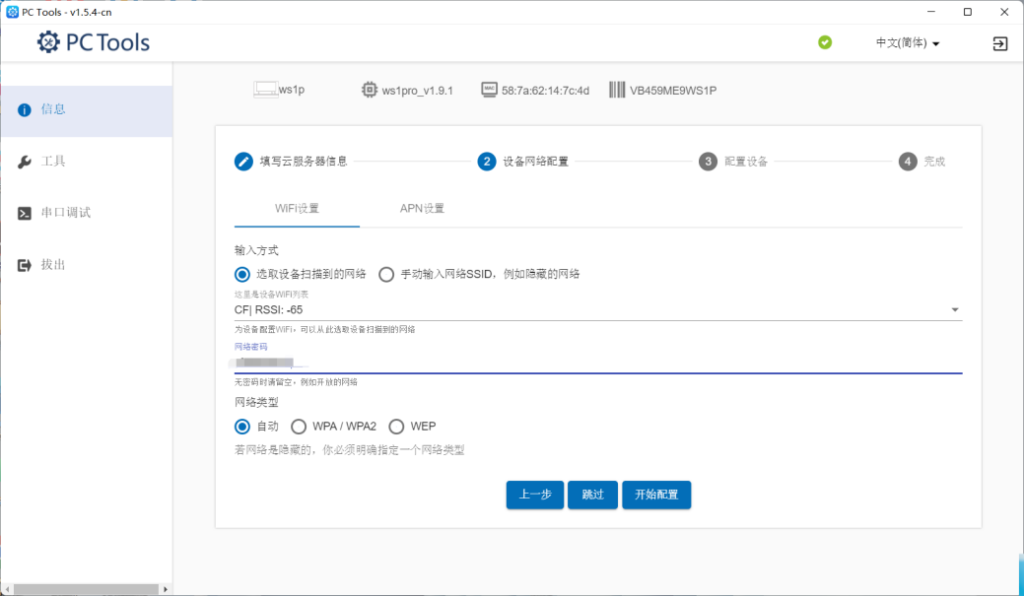
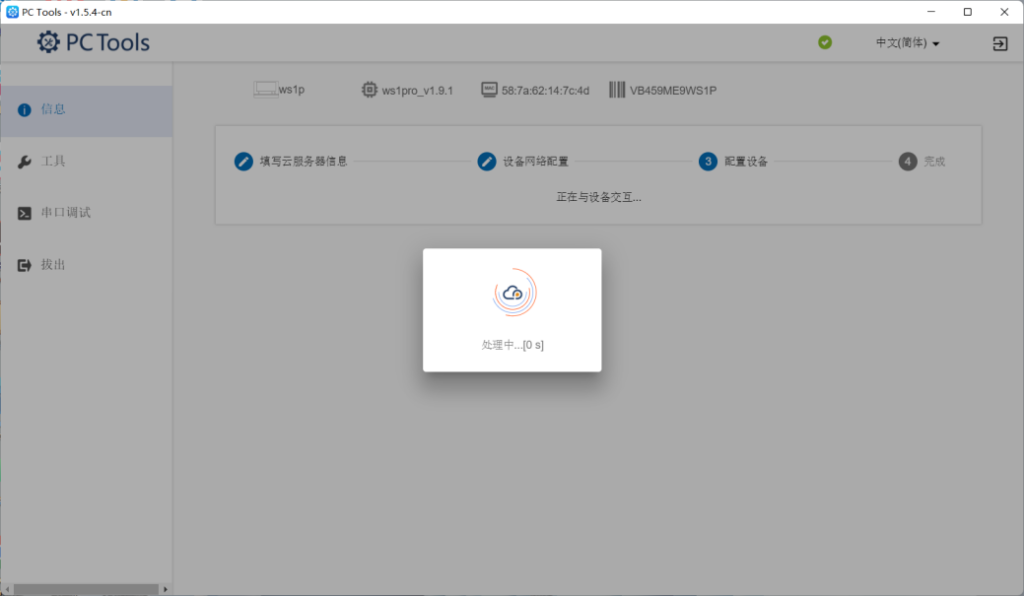
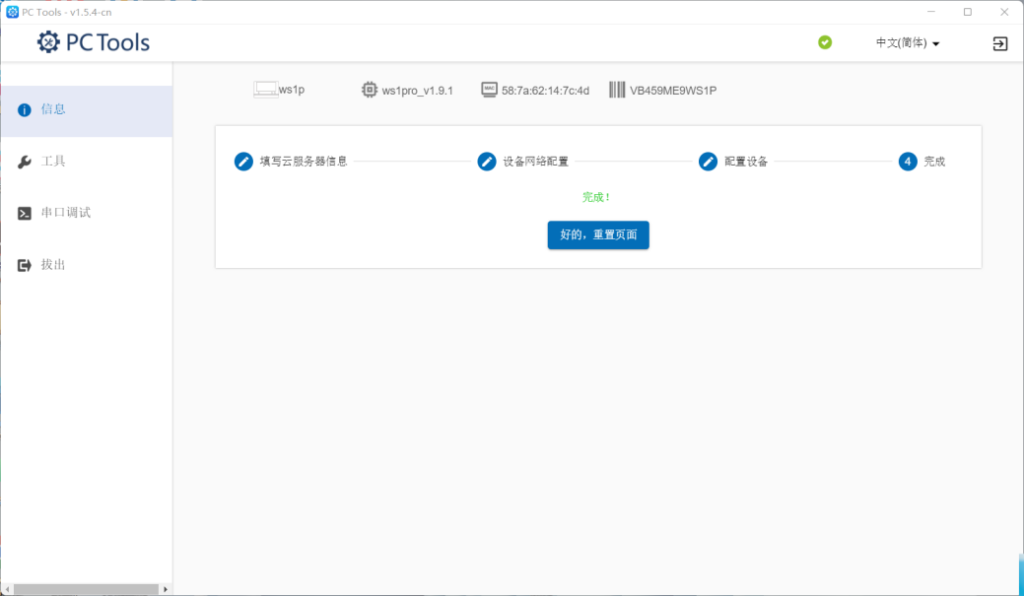
⑥设置WiFi。选择对应输入方式,设置设备需连接的网络名称及密码,完成后点击【开始配置】。配置成功后,可在控制台查看设备。
三、登录控制台
①浏览器访问 http://127.0.0.1/ (仅限服务器本机)或设置好的host地址,如http://192.168.2.25。
用户名及密码为系统默认设置中所设置。

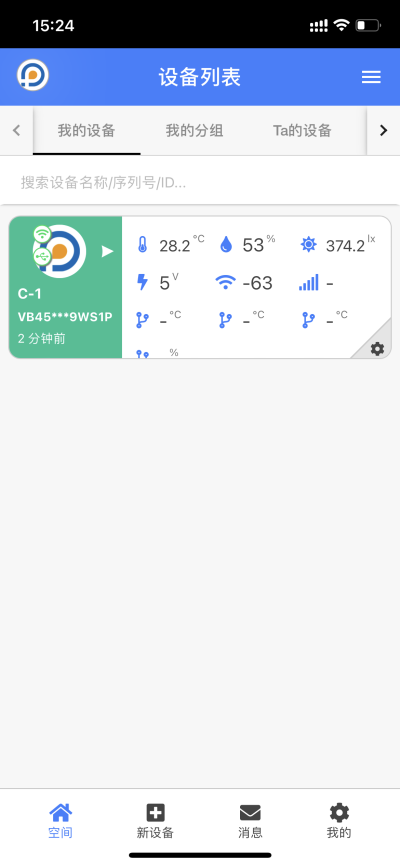
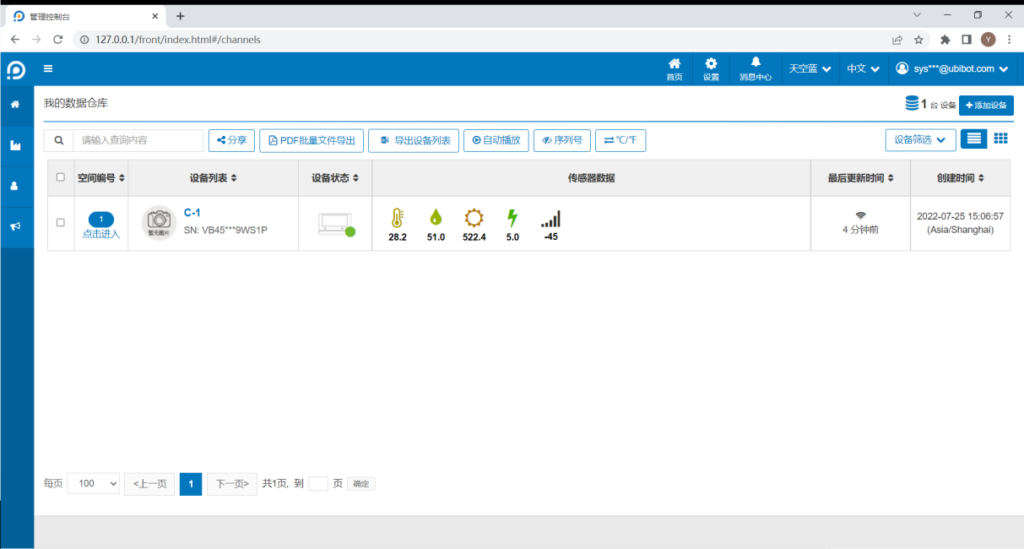
②点击【数据仓库】-【我的数据仓库】,可查看设备并进行相关操作。
注:若删除设备后需再次绑定,请先对设备恢复出厂设置。
四、登录APP(标准版及以上)
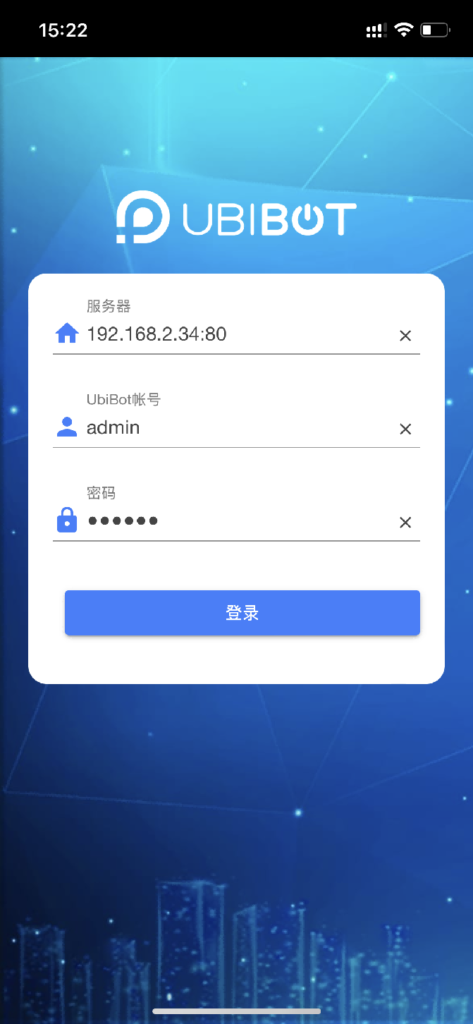
①下载并安装123 IoT OPP。
②打开APP,分别输入服务器、账号及密码。其中,服务器地址为服务器地址+端口,如192.168.2.25:80。
进入后,即可显示绑定的设备。